Thursday 11 December 2014

THE TEAM

This project would not be possible without the help of our incredible team: 

Jason Ramelson
Michael Owens
Jonathan Chan
Nadia Corsetti
Nishil Saheba
Stephanie Steriotis
Robyn Thomson
Brant York
Dadin Duldul
Richelle Ng

 We would also like to thank the following people for their time and effort and leading us towards success:

Frank Bowen
Blaine Evans
Vincent Hui
Colin Ripley
Gow Hastings Architects Inc.


PRODUCTON DAY 6 - SURFACE EDGES

To embellish on the lighting effects within the 3/8" reveal, we tapered each edge of every panel. This helps with the transitional nature of light towards the building as well as eliminating any edge conditions that may distort the reveal. 


PRODUCTION DAY 5 - SANDING PARTY PART:2

The team undergoing the second round of sanding.

LIGHTING TEST 3

After finalizing the aluminum inserts into the steel structure, we attached all mirrored panels to the back of the structure and proceeded in fixing LED strips onto its surface. This light cavity was calculated based off of its depth from the backer panels and its distance between distribution. We are using 60W RGB LED strip lighting connected to a micro-controller for effects.


TORONTO DESIGN OFFSITE FESTIVAL

The Paul. H. Cocker Feature Wall is proud to be amongst this years showcase of Ryerson University's Department of Architectural Science at the 2015 Toronto Design Offsite Festival. Please come out from January 19th to the 23rd to see the wall as well as a collection of works from our talented students.  


STEEL WORKS

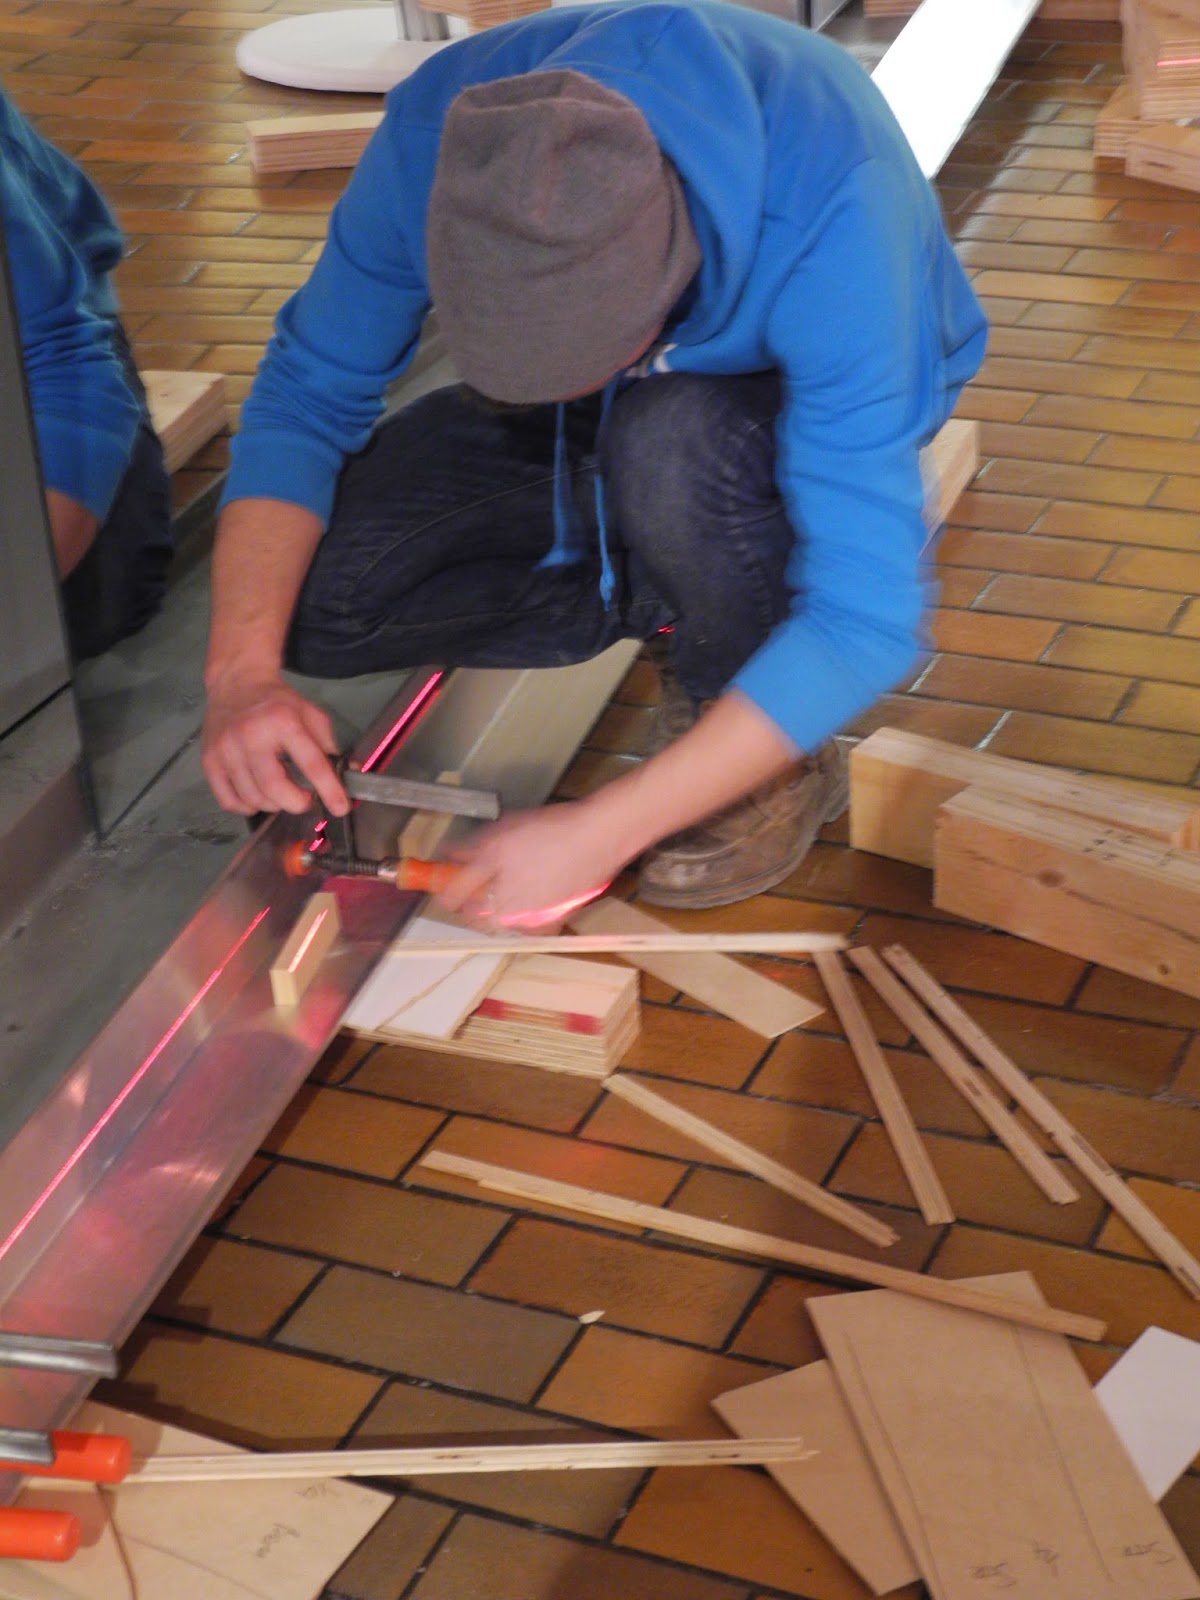
While recognizing the importance of tolerance in design and construction, we had to make some alterations and structural additions to the existing structure. By attaching a top and bottom channel to the existing steel, we condition ourselves with a fully level frame in which our panels will slide directly in. This offset off the structure also allows for adequate lighting space for equal distribution along the wall.      


PRODUCTION DAY 4: GLUING FLANGES

Gluing jigs were prepared to ensure a 3" (the thickness of the backer panel)
offset from the base of the extrusions.  

Pre-cut flanges with holes for securing the components to the backer panels. 
The team in an assembly line fashion. 
 
Cleaning the jig.


Scraping excess glue.

 
The component drying in the jig.


The team hard at work.


The collection of completed components. 
  
A demonstration of the fitting.  

LIGHTING TEST 2

After completing the construction of our Lexan backer panels, we decided to clamp one of them up to the structure on site and test lighting conditions as well as the general placement for its final setting.


Mike holding up panels to show off an example of out 3/8" reveal.  


A sectional view of the backer panel and some inserted components.


PRODUCTION DAY 3: SANDING PARTY!

An important process in the assembly of Corian requires extreme cleanliness when gluing. The team therefore went through a full day of sanding.


PRODUCTION DAY 2: DRILLING FLANGES

As part of the full component, the extrusions also encompass 3 flanges on either face. These simply allow for connection into the backer panels. 


Jonathan using the drill press.


522 flanges in total.

PRODUCTION DAY 2: GLUING EXTRUSIONS

Today, the team worked on gluing and finishing the extrusions that will soon be inserted into the backer panels. The fabrication and assembly process is as follows:

Pre-taped extrusions ready to be glued


Cleaning the extrusions with Methyl Hydrate


Brant gluing the edge conditions
Folding the panels to create an extrusion


Taping the extrusion closed


Cleaning the fully glued extrusion


The assembly line in action


Extrusions being hauled off to storage


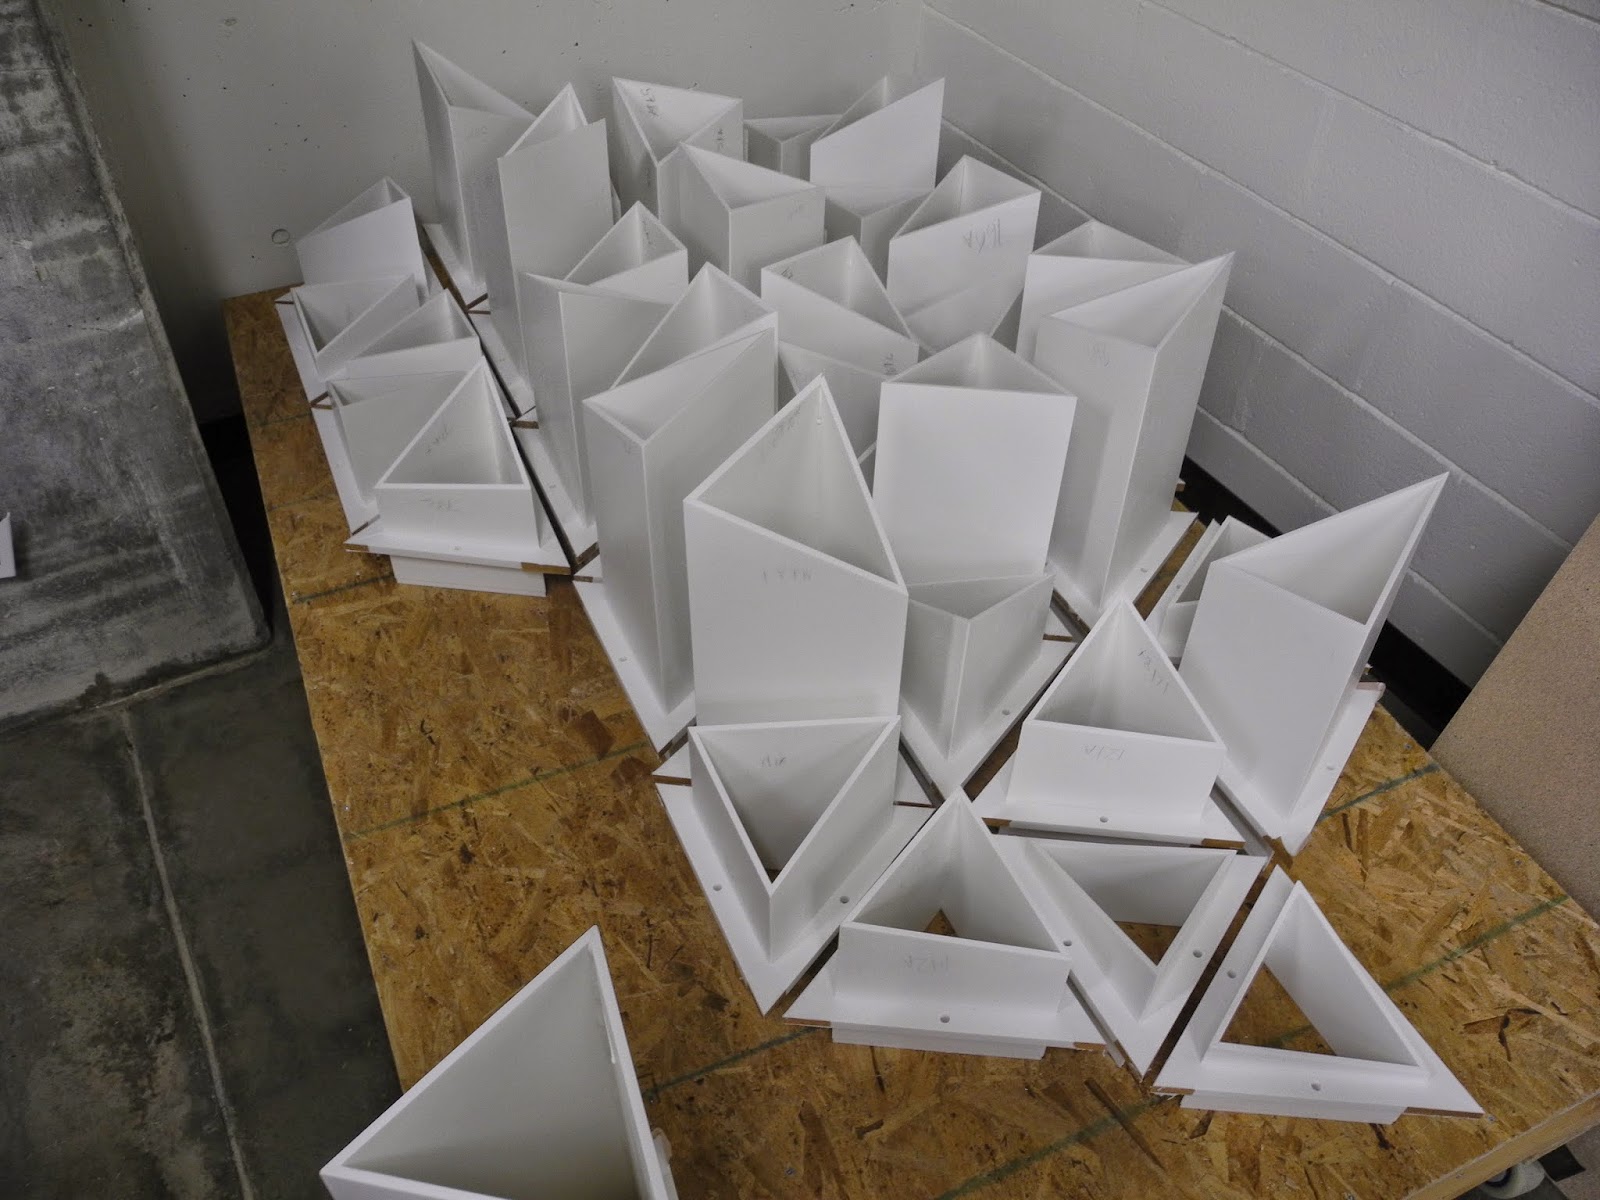
A collection of finalized extrusions