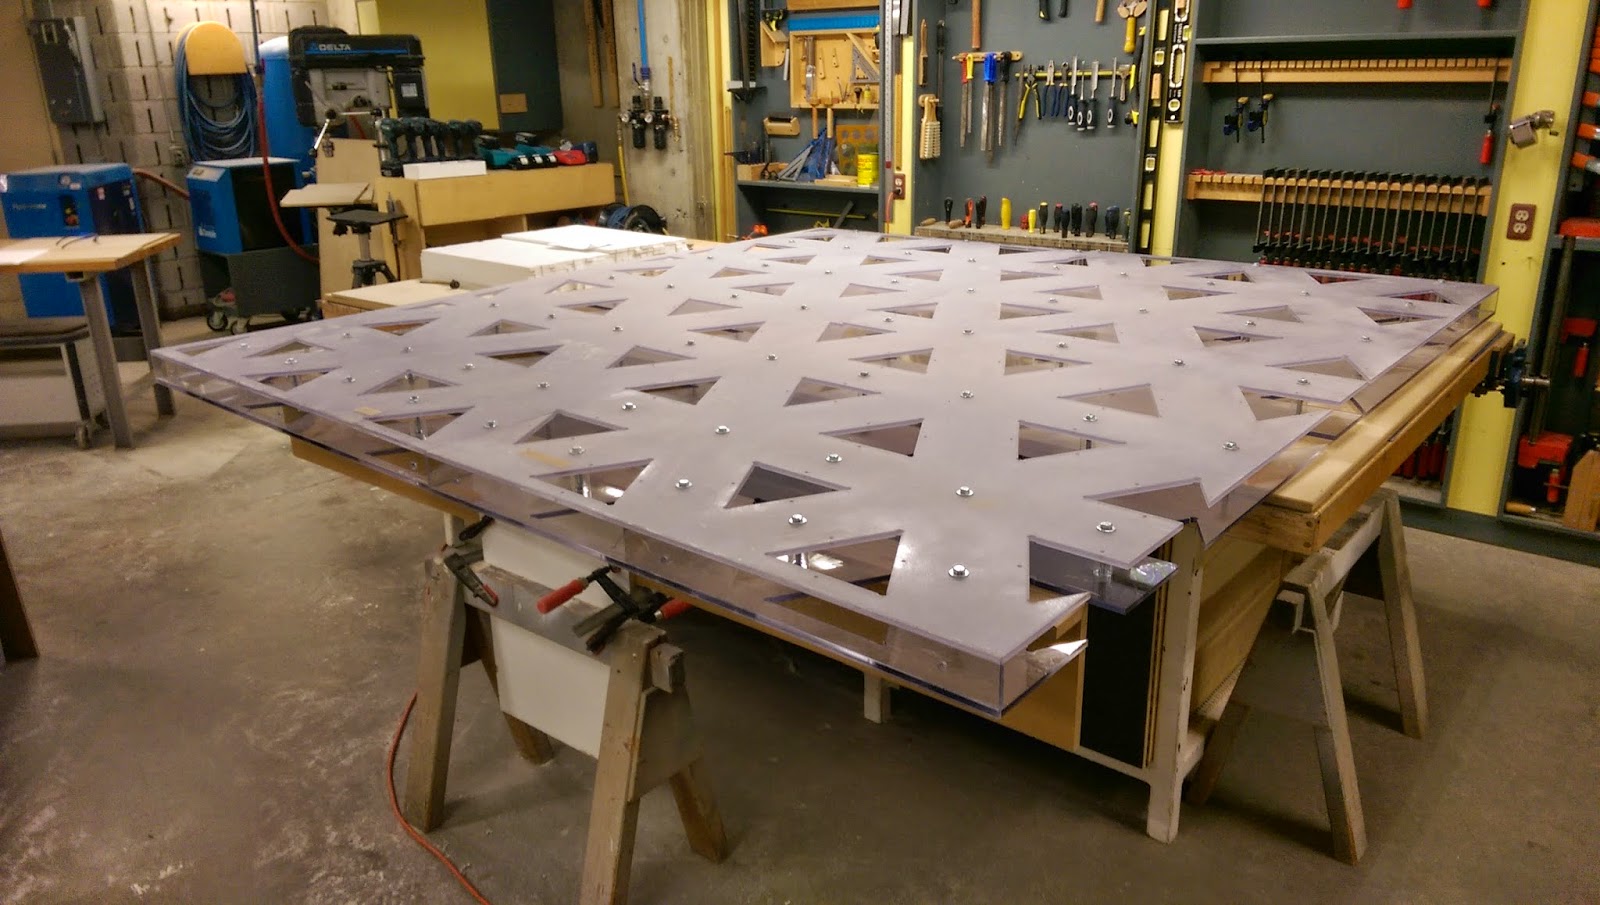
After realizing that regular washers were not allowing us the opportunity to bolt in place, we purchased a bunch of lock washers. By taping them to the back of the Lexan backer panels, we were able to bolt from the front without having to worry about holding the nut in behind.
This blog contains a series of documented artifacts contributing to the process and completion of the Paul H. Cocker Gallery Feature Wall at the Ryerson University Architecture Building.
Showing posts with label Backer Panels. Show all posts
Tuesday, 6 January 2015
PRODUCTION DAY 11 - PANEL INSTALLATION
Even though we hoisted and removed the backer panels on numerous occasions, this was our final application. One by one, we cleaned, raised and bolted each successful backer panel.
![]() |
| Jason bolting panel four into place |
| Jason and Mike hoisting panel two into place |
![]() |
| All backer panels bolted into place |
PRODUCTION DAY 8 - SURFACE GLUING ONE
On the first day of surface gluing, we started off by laying out all the pre-assembled components into their respective slots in the Lexan backer panels. Through careful placement, we started the initial steps of the surface undulation and proceeded in mastering the steps of the gluing process.
![]() |
| All components inserted into the first two panels. |
![]() |
| Gluing consists of one person allotted for dipersing the Corian glue, one for placement and the remainder of the team for holding each face in place. |
![]() |
| By gluing on a horizontal plane, gravity became our ally. |

Thursday, 11 December 2014
PRODUCTION DAY 4: GLUING FLANGES
| Gluing jigs were prepared to ensure a 3" (the thickness of the backer panel) offset from the base of the extrusions. |
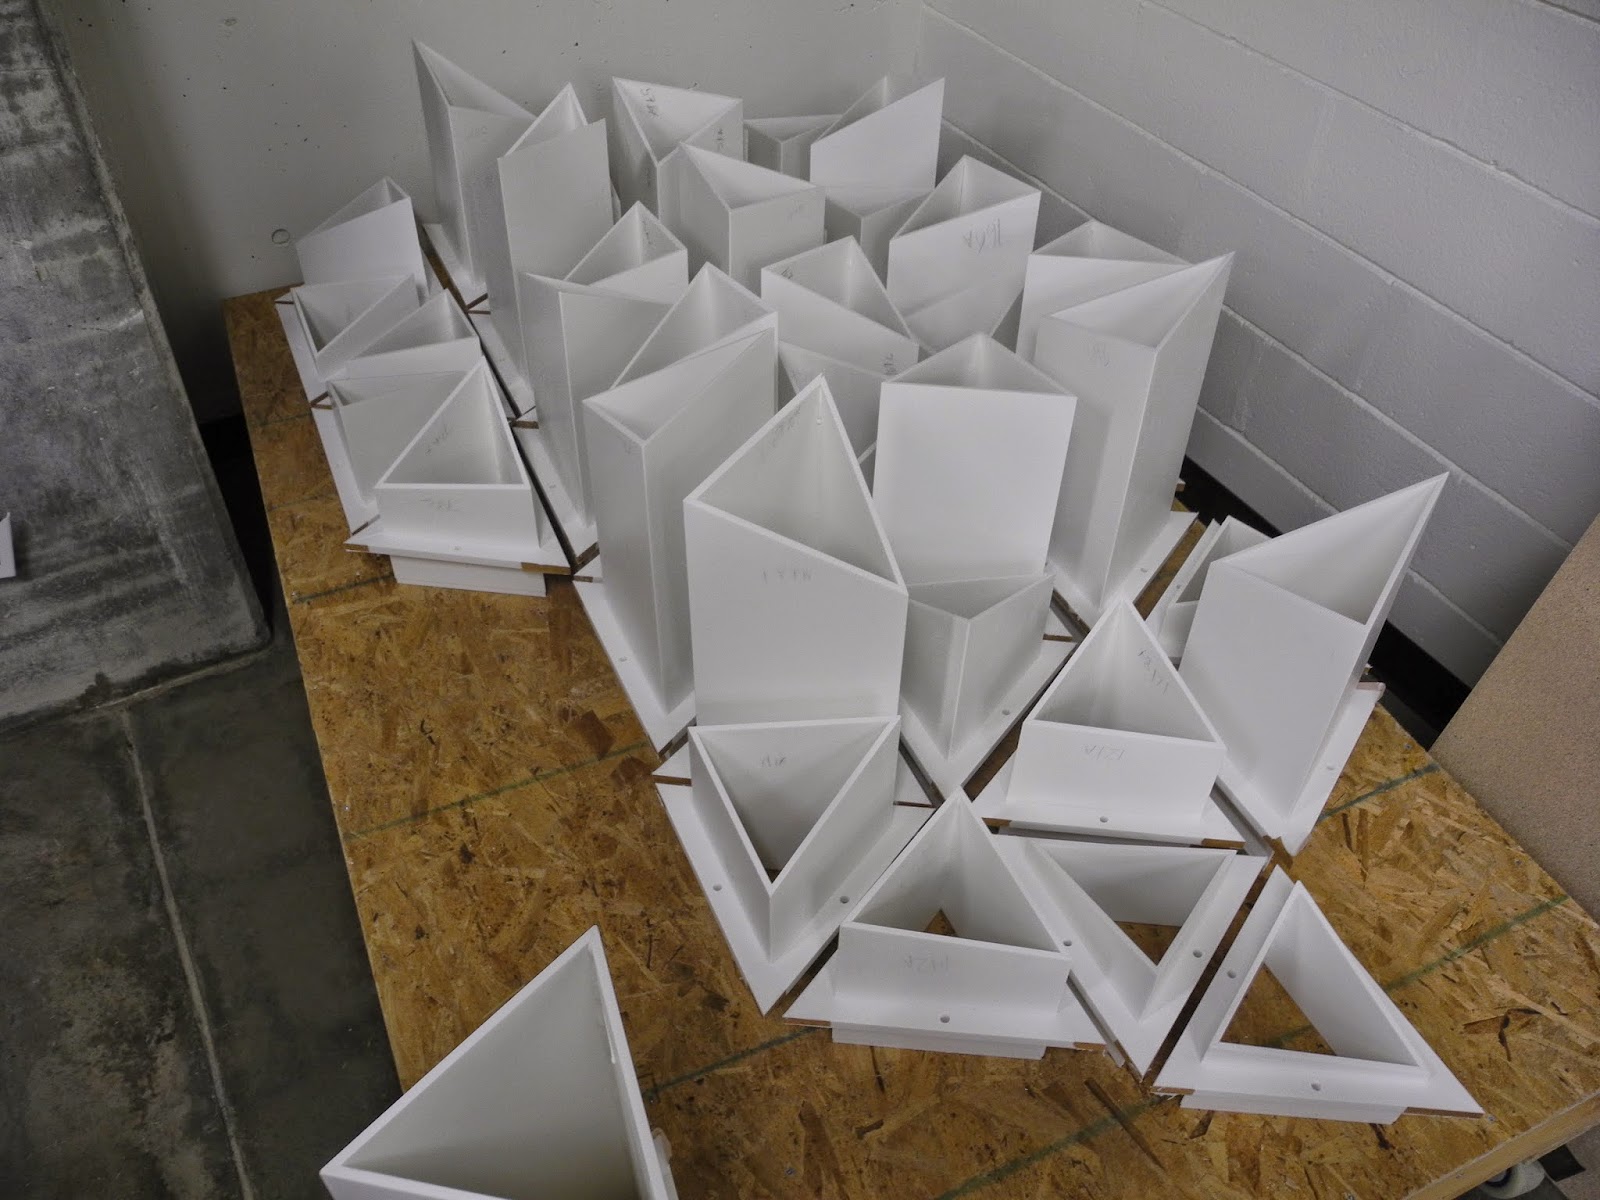
| Pre-cut flanges with holes for securing the components to the backer panels. |
| The team in an assembly line fashion. |
| Cleaning the jig. |
| Scraping excess glue. |
| The component drying in the jig. |
| The team hard at work. |
| The collection of completed components. |
| A demonstration of the fitting. |
LIGHTING TEST 2
After completing the construction of our Lexan backer panels, we decided to clamp one of them up to the structure on site and test lighting conditions as well as the general placement for its final setting.
![]() |
| Mike holding up panels to show off an example of out 3/8" reveal. |
![]() |
| A sectional view of the backer panel and some inserted components. |
LIGHTING TEST 1.5
Immediately after completing the fabrication of our backer panels, we decided to shine a beam of light on them to identify their light transmission. The result shows that by adding specific lighting conditions paired with material effects, we can get evenly distributed lighting with minimal hot spots.
PRODUCTION DAY 1: BACKER PANELS
Once the Lexan sheets have been processed from the CNC, post-processing occurred. We sanded (or frosted) the front panel as to allow for light diffusion towards the building as well as a transparent screen to the structure behind. Both sides of the backer panels were routed to ensure flexibility in tolerance and ease of access for the to-be-inserted components.
![]() |
| Two halves of a backer panel: one transparent and one translucent. |
![]() |
| Brant having the time of his life! |
![]() |
| Brant and Nadia sanding one of the front faces of a backer panel. |
![]() |
| Nishil routing some edges! |
![]() |
| Acrylic spacers are added in between each face. |
![]() |
| Mike bolting each face together to produce one panel. |
![]() |
| Two finished panels. |
CNC - IN PROGRESS: LEXAN
The first step in our fabrication process began with the milling of 4' x 8' Lexan polycarbonate panels. To ensure equal registration amongst all 12 backer panels, we created a jig to maintain placement. The Lexan panels have been milled with buildable information including slots for extrusion insertion and flange and spacer connections.
![]() |
| Mike diligently monitoring the CNC |
Subscribe to:
Posts (Atom)